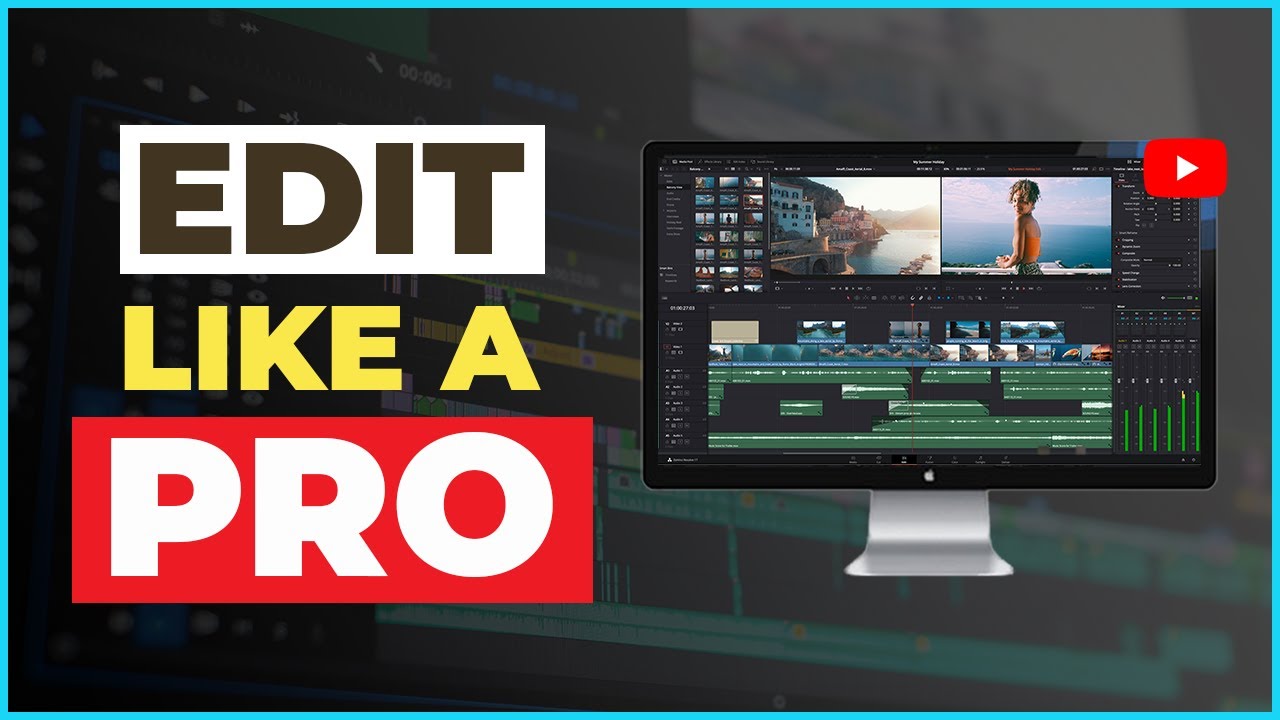
In the competitive world of YouTube, video editing plays a crucial role in attracting and retaining viewers. A well-edited video enhances storytelling, maintains audience engagement, and boosts your channel’s growth. Whether you’re a beginner or an experienced content creator, learning how to edit YouTube videos like a pro can take your videos to the next level.
Why Video Editing is Essential for YouTube Success
Editing is not just about cutting clips together; it’s about crafting a compelling narrative. Professional editing helps:
- Enhance video quality – Better visuals and smooth transitions improve viewer retention.
- Increase watch time – Engaging videos encourage viewers to watch longer, which improves rankings.
- Improve audience engagement – Proper edits make content more enjoyable and informative.
- Strengthen brand identity – Consistent editing styles create a recognizable brand.
Now, let’s dive into the steps and techniques to edit YouTube videos like a pro.
Step 1: Choosing the Right Video Editing Software
Your editing software determines the tools and effects available for your videos. Here are some of the best video editing software options:
Beginner-Friendly Software
- iMovie (Mac) – Simple interface with essential features.
- Filmora (Windows & Mac) – Easy-to-use with drag-and-drop functionality.
- CapCut (Mobile & PC) – Free, user-friendly, and great for beginners.
Professional Editing Software
- Adobe Premiere Pro – Industry-standard with advanced tools.
- Final Cut Pro (Mac) – Powerful, optimized for Apple users.
- DaVinci Resolve – Best for color grading and high-end edits.
Choose a tool based on your skill level and video editing needs.
Step 2: Organizing Your Footage
Before editing, organizing your footage ensures a smooth workflow.
Tips for Efficient Organization
- Create folders – Sort by footage, audio, music, and effects.
- Rename files – Use clear names like “Intro_Scene1.mp4”.
- Use bins/tags – Most editors have features to categorize clips.
- Delete unnecessary clips – Remove poor-quality or redundant footage.
A well-organized workspace saves time and prevents frustration.
Step 3: Trimming and Cutting Clips for a Smooth Flow
The foundation of editing is trimming and arranging clips for a seamless narrative.
Key Techniques
- Cut unnecessary parts – Remove long pauses, mistakes, and off-topic sections.
- Use jump cuts – Keep pace fast and engaging, especially for vlogs.
- Match cuts – Align transitions by matching motion or objects.
- Use the ‘J’ and ‘L’ cuts – Overlap audio for smoother dialogue transitions.
These techniques help create an engaging video that keeps viewers hooked.
Step 4: Adding Transitions and Effects Professionally
While transitions and effects enhance videos, overusing them can look unprofessional.
Best Practices
- Use simple cuts – Straight cuts often look better than fancy transitions.
- Limit special effects – Use effects like slow motion or zoom sparingly.
- Apply motion graphics – Animated text or lower thirds add a professional touch.
- Use fade in/out – For smooth scene transitions.
Consistency in transitions makes videos look more polished and cinematic.
Step 5: Enhancing Video with Music and Sound Effects
Audio is just as important as visuals in video editing.
Audio Editing Tips
- Use royalty-free music – Avoid copyright strikes with sources like YouTube Audio Library, Epidemic Sound, or Artlist.
- Adjust audio levels – Keep background music lower than the main dialogue.
- Remove background noise – Use noise reduction tools for cleaner audio.
- Sync audio with visuals – Align sound effects with actions for impact.
A well-balanced audio mix makes a video more professional and engaging.
Step 6: Color Correction and Grading for a Cinematic Look
Color correction enhances the visual appeal of a video.
Steps to Improve Video Colors
- White balance – Adjust to remove unnatural tints.
- Contrast and brightness – Ensure the image isn’t too dark or washed out.
- Saturation – Enhance colors subtly without overdoing it.
- Apply LUTs (Look-Up Tables) – Pre-made color grades for a consistent look.
Color grading gives videos a signature style and a professional finish.
Step 7: Adding Text, Subtitles, and Graphics
Text and graphics help convey information clearly.
Best Practices for Adding Text
- Use readable fonts – Avoid overly fancy fonts that are hard to read.
- Keep text on screen long enough – Ensure viewers can read it comfortably.
- Use subtitles – Helps improve accessibility and engagement.
- Brand your videos – Add watermarks or intros for brand identity.
Graphics make videos more informative and visually appealing.
Step 8: Exporting and Uploading Your Video in the Best Quality
Before uploading to YouTube, ensure the video is optimized.
Best Export Settings for YouTube
- Resolution: 1920×1080 (Full HD) or 4K for higher quality.
- Frame Rate: 30fps or 60fps for smooth playback.
- Format: MP4 (H.264 codec) for best compatibility.
- Bitrate: 10-12 Mbps for HD, 35-45 Mbps for 4K.
Uploading in the best quality ensures a professional and polished look.
Final Thoughts
Editing is an essential skill for YouTube success. By using the right software, mastering key techniques, and continuously improving your skills, you can create high-quality, engaging content that attracts and retains viewers.
FAQs
1. What is the best free software for editing YouTube videos?
Some of the best free editors are DaVinci Resolve, iMovie (Mac), and CapCut. These offer professional features without any cost.
2. How long does it take to edit a YouTube video?
Editing time varies based on complexity. A simple vlog may take 1-3 hours, while a cinematic video can take 10+ hours.
3. How can I make my YouTube videos look professional?
Use high-quality footage, smooth transitions, proper color grading, clear audio, and engaging storytelling.
4. What video format should I use for YouTube?
MP4 with the H.264 codec is the best format for YouTube due to its balance of quality and file size.
5. How do YouTubers add subtitles to videos?
Subtitles can be added manually using YouTube Studio or automated with tools like Descript, VEED.io, or Kapwing.