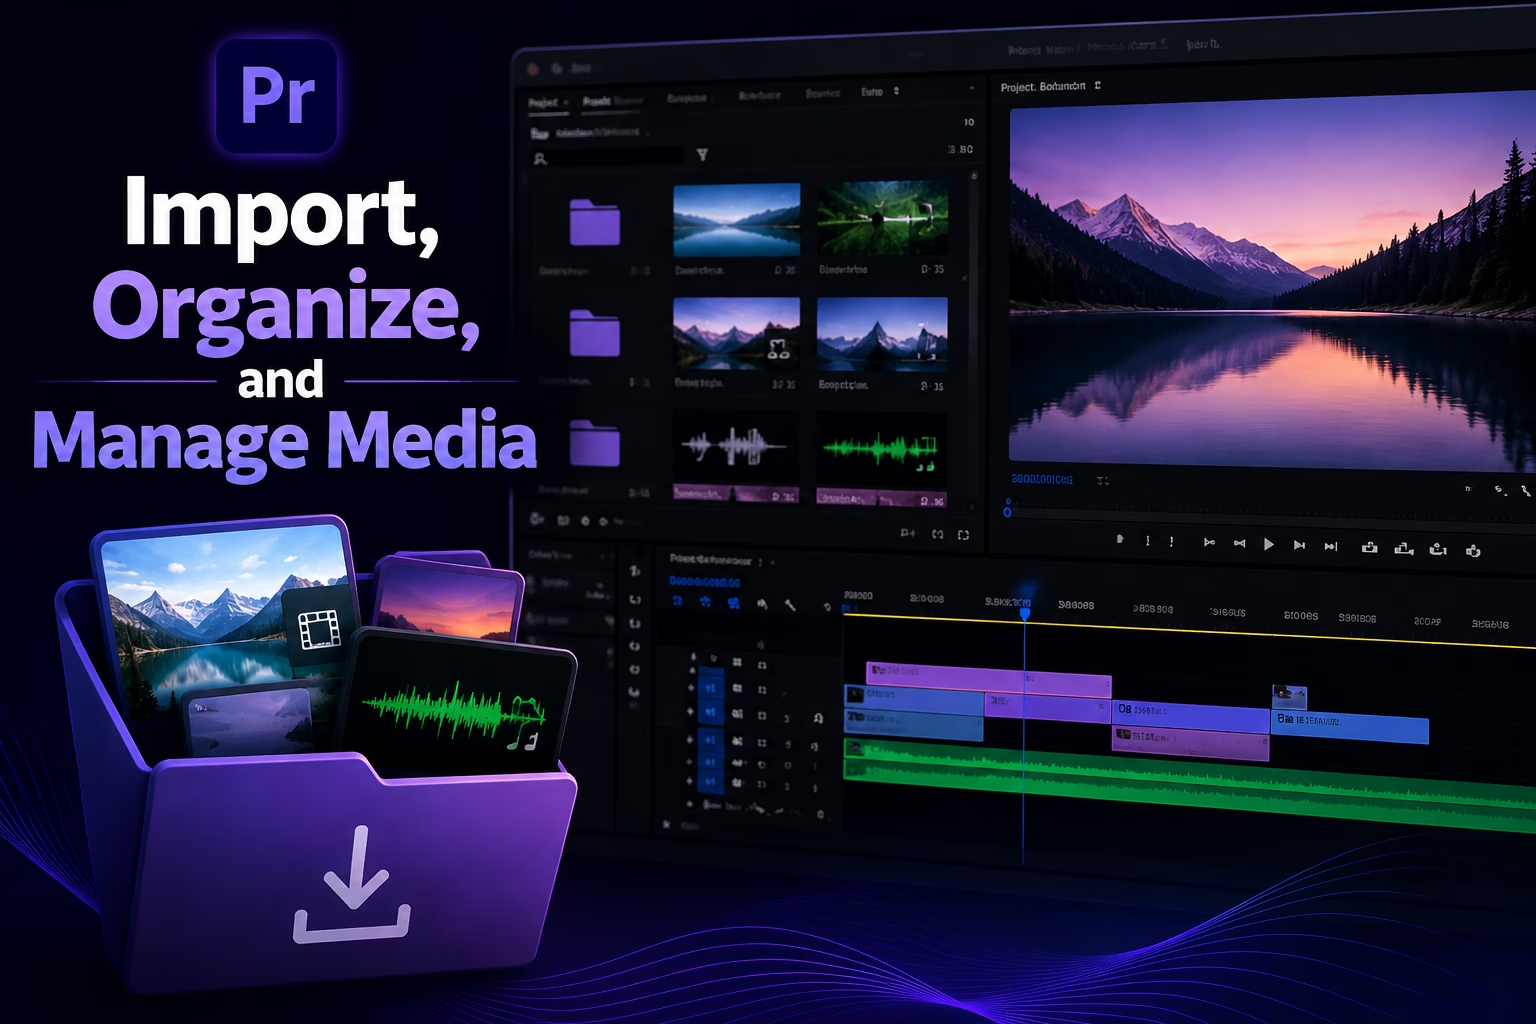
One of the most important parts of any successful video editing project happens before you make your first cut. Importing, organizing, and managing media correctly in Adobe Premiere Pro creates a structured workflow that saves time, reduces mistakes, and makes editing far more efficient.
Whether you’re editing YouTube videos, documentaries, commercials, podcasts, wedding films, or corporate projects, a well-organized project allows you to find clips quickly, collaborate with team members, and avoid missing important files.
In this guide, you’ll learn the complete process of importing media into Premiere Pro, organizing assets professionally, managing large projects, relinking offline files, and following industry best practices for maintaining an efficient editing workflow.
Why Media Organization Matters
Many beginners immediately start dragging clips onto the timeline without organizing their assets. This often leads to confusion later in the editing process.
A properly organized project offers several benefits:
- Faster editing workflow
- Easier collaboration with clients or teams
- Quick access to footage
- Reduced chance of missing files
- Better project performance
- Simpler revisions
- Easier project archiving
Professional editors often spend 10–20% of their editing time organizing media because it significantly speeds up the remaining work.
Creating a New Premiere Pro Project
Before importing media, create a new project.
- Launch Adobe Premiere Pro.
- Click New Project.
- Give your project a meaningful name.
- Choose a dedicated location for the project folder.
- Configure your scratch disks if necessary.
- Click Create.
A dedicated project folder helps keep all project files together.
A common folder structure looks like this:
Project Name
│
├── Premiere Project
├── Video Footage
├── Audio
├── Images
├── Music
├── Graphics
├── Exports
└── Auto Saves
Keeping everything inside one master folder prevents missing media issues later.
Understanding the Premiere Pro Interface
Several panels are used when importing and managing media:
Project Panel
The Project Panel is where all imported assets are stored.
It functions similarly to the file explorer on your computer but only contains references to your media—not the actual files.
Media Browser
The Media Browser allows you to browse storage devices without leaving Premiere Pro.
It is especially useful for:
- Camera cards
- External SSDs
- Professional video formats
- Memory cards
- Network storage
Source Monitor
The Source Monitor lets you preview imported clips before adding them to the timeline.
Ways to Import Media into Premiere Pro
Premiere Pro offers multiple methods for importing files.
Method 1: Import Command
Choose:
File → Import
or press
Ctrl + I (Windows)
Cmd + I (Mac)
Select one or multiple files and click Open.
Method 2: Drag and Drop
Simply drag files from:
- Windows Explorer
- Finder
- Desktop
- External drives
Drop them directly into the Project Panel.
This is one of the fastest importing methods.
Method 3: Media Browser
Using the Media Browser is recommended for professional camera footage because it preserves folder structures and metadata.
Benefits include:
- Better compatibility
- Faster importing
- Reduced corruption risks
- Proper handling of camera codecs
Supported Media Types
Premiere Pro supports hundreds of formats.
Common video formats include:
- MP4
- MOV
- AVI
- MXF
- MPEG
- MTS
- ProRes
- RED RAW
- BRAW
Supported audio formats include:
- MP3
- WAV
- AAC
- AIFF
Image formats include:
- JPG
- PNG
- TIFF
- PSD
- GIF
Adobe Photoshop PSD files remain layered, making them excellent for motion graphics workflows.
Importing Entire Folders
Instead of selecting individual files, you can import complete folders.
Advantages include:
- Faster project setup
- Better organization
- Easier media management
- Preserved folder hierarchy
Large productions often contain thousands of files, making folder imports much more efficient.
Organizing Media with Bins
Bins are folders inside Premiere Pro.
They help categorize assets without changing the original files on your computer.
Professional editors typically create bins such as:
- Video
- Audio
- Music
- Interviews
- B-Roll
- Drone Footage
- Logos
- Titles
- Graphics
- Sequences
- Exports
Nested bins allow even greater organization for complex projects.
Color Labels for Better Organization
Premiere Pro allows assigning colors to clips.
Examples include:
- Blue for interviews
- Green for B-roll
- Yellow for graphics
- Purple for drone footage
- Red for important clips
Color coding makes projects easier to navigate visually.
Renaming Clips
Camera-generated filenames such as:
C0001.MP4provide little information.
Instead, rename clips descriptively.
Examples:
- CEO Interview
- Product Demo
- Intro Scene
- Customer Testimonial
- Drone Sunset Shot
Clear names make searching much faster.
Using Metadata
Premiere Pro stores metadata such as:
- Camera model
- Lens information
- Resolution
- Frame rate
- Recording date
- Duration
- Scene information
You can also add custom metadata for easier searching.
Searching for Clips
Large projects may contain hundreds or thousands of clips.
The search bar inside the Project Panel lets you instantly locate assets by:
- Filename
- Metadata
- Labels
- Comments
- Media type
This saves considerable editing time.
Creating Sequences Properly
Instead of manually selecting sequence settings, simply drag a video clip onto the New Item button.
Premiere Pro automatically matches:
- Resolution
- Frame rate
- Aspect ratio
- Codec settings
This minimizes compatibility issues.
Using Proxy Files
High-resolution footage like:
- 4K
- 6K
- 8K
- RAW
can slow down editing.
Proxy files are lower-resolution copies that improve performance while preserving the quality of the final export.
Benefits include:
- Smoother playback
- Faster editing
- Better laptop performance
- Reduced rendering time during editing
Managing Offline Media
Sometimes Premiere Pro cannot locate your files because they were moved or renamed.
Offline media appears with warning icons.
To reconnect files:
- Locate the offline clip.
- Right-click it.
- Choose Link Media.
- Navigate to the original location.
- Confirm the selected file.
Keeping project folders organized helps prevent this issue.
Best Practices for Media Management
Professional editors follow consistent organizational habits.
Recommended practices include:
- Store all project assets in one master folder.
- Never edit directly from camera memory cards.
- Back up footage before editing.
- Keep original filenames if working in teams.
- Organize clips into bins before editing.
- Use descriptive sequence names.
- Separate music, graphics, and footage.
- Archive completed projects carefully.
- Save your project frequently.
- Enable Auto Save.
Working with External Drives
For larger projects, editing from a fast SSD offers better performance than traditional hard drives.
Recommended storage options include:
- NVMe SSD
- Portable SSD
- RAID storage
- NAS systems for collaborative workflows
High-speed storage significantly improves playback and rendering performance.
Using Productions for Large Projects
Adobe Premiere Pro includes a Productions workflow designed for collaborative editing.
Benefits include:
- Multiple editors can work simultaneously.
- Smaller project files improve performance.
- Shared assets remain organized.
- Reduced project corruption risks.
This workflow is commonly used in film production, television, and large commercial projects.
Backing Up Your Project
Never rely on a single copy of your work.
Follow the 3-2-1 backup rule:
- Keep three copies of your project.
- Store them on two different storage devices.
- Keep one backup off-site or in cloud storage.
Regular backups protect your work from hardware failure, accidental deletion, or corruption.
Common Mistakes to Avoid
Many beginners make avoidable mistakes that slow down their workflow.
Avoid these common errors:
- Importing files directly from an SD card.
- Mixing unrelated projects in one folder.
- Using generic filenames.
- Ignoring bins and folders.
- Moving files after importing them.
- Forgetting to back up footage.
- Deleting media outside Premiere Pro.
- Keeping everything in one large Project Panel.
Building good organizational habits early will save hours on every future project.
Final Thoughts
Importing, organizing, and managing media effectively is the foundation of a professional editing workflow in Adobe Premiere Pro. While it may seem like extra work at the beginning of a project, a structured approach makes editing faster, collaboration easier, and troubleshooting far less stressful.
By creating organized folders, using bins, naming clips clearly, leveraging metadata, and maintaining reliable backups, you can focus more on creativity and less on searching for files. Whether you’re editing short social media videos or full-length documentaries, mastering media management will improve your efficiency and help you deliver polished projects with confidence.
Read More: Essential Keyboard Shortcuts Every Premiere Pro User Should Know