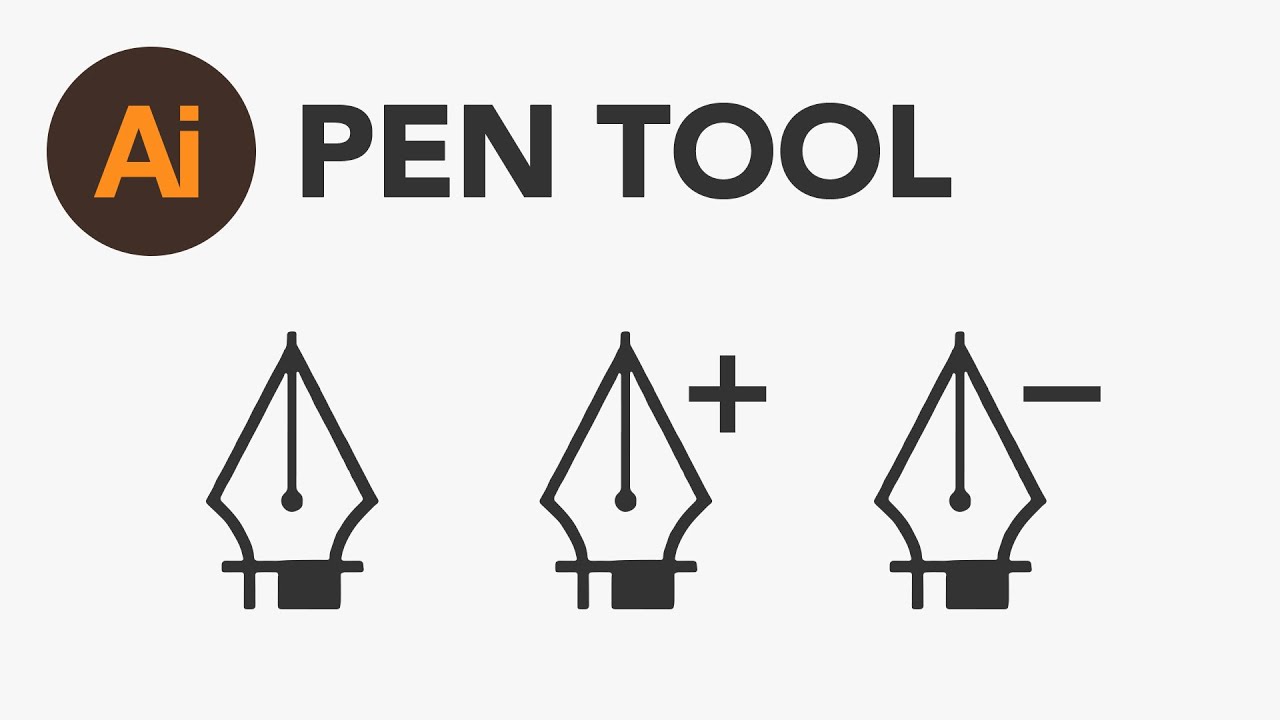
1. Introduction to the Pen Tool in Illustrator
The Pen Tool is a core feature in Adobe Illustrator used to draw vector graphics. It enables designers to create paths composed of anchor points connected by straight or curved lines. This tool is essential for creating custom shapes, icons, logos, and illustrations.
To access the Pen Tool, simply click on the Pen Icon in the Tools Panel or press P on your keyboard.
2. Why Use the Pen Tool?
The Pen Tool allows for unparalleled precision in creating designs. Whether you’re crafting a simple geometric shape or a complex logo, the Pen Tool gives you control over every curve and corner. Unlike freehand drawing tools, the Pen Tool ensures smooth lines and consistent shapes.
- Precision: Create exact paths, making it ideal for logos, icons, and typography.
- Flexibility: The ability to adjust anchor points and paths gives you full control over your artwork.
- Scalability: Designs created with the Pen Tool are vector-based, meaning they can be scaled without losing quality.
3. Getting Started with the Pen Tool
Before diving into complex designs, it’s crucial to understand the basic interface of the Pen Tool:
- Anchor Points: These are the dots where the lines you draw begin and end.
- Paths: These are the lines that connect the anchor points.
- Handles: Used to control the curvature of the path.
When you click to place an anchor point, Illustrator automatically creates a path. If you click and drag, you’ll create a curved path with handles.
4. Basic Functions of the Pen Tool
- Click Once: Creates a straight line between two points.
- Click and Drag: Creates a curved line with handles.
- Alt/Option + Click: Converts a curved point to a corner point, removing or shortening handles.
Learning these basic interactions will help you create both straight and curved paths easily.
5. How to Create Straight Lines
- Select the Pen Tool from the toolbar or press P on your keyboard.
- Click on the canvas to set your starting anchor point.
- Click again where you want the line to end. A straight line will appear between the two anchor points.
To continue creating more straight lines, simply click again at different points. To stop drawing, either press Esc or close the path by clicking on the original anchor point.
6. How to Create Curved Lines
- Start by selecting the Pen Tool and clicking to create an anchor point.
- Click and drag in the direction you want the curve to go. This will create direction handles that influence the curvature of the line.
- Release the mouse and continue placing anchor points with clicks or click-and-drag motions to create your curved path.
To create a smooth, flowing curve, practice adjusting the direction handles to control the shape and length of the curve.
7. Mastering Anchor Points and Handles
Anchor points and handles are crucial for controlling the shape of your paths. Anchor points can be corner points (which create sharp angles) or smooth points (which create curves).
- Convert Anchor Point Tool: This allows you to change a smooth point into a corner point or vice versa.
- Handle Adjustment: To adjust the curve, click on the handles and drag them. The longer the handle, the more pronounced the curve.
Mastering this aspect will give you greater control over the shape and flow of your designs.
8. Using the Pen Tool to Trace Images
If you want to recreate or trace an image using the Pen Tool, follow these steps:
- Import the image into Illustrator by going to File > Place.
- Select the Pen Tool and start clicking along the edges of the image to create anchor points.
- Use click-and-drag motions to add curves where necessary.
- Continue tracing the image, creating both straight and curved paths.
Once you’re done, you’ll have a vectorized version of the image that can be edited and scaled.
9. Shortcuts and Techniques for Efficiency
- Shift + Click: Constrains the line to 45° increments, perfect for drawing straight vertical or horizontal lines.
- Ctrl/Cmd + Click: Temporarily switches to the Selection Tool so you can adjust anchor points or move objects.
- Spacebar: Allows you to move anchor points before committing them to the path.
These shortcuts will speed up your workflow and help you work more efficiently with the Pen Tool.
10. Pen Tool Settings and Customization
You can customize the Pen Tool settings to suit your workflow. Go to Edit > Preferences to adjust options like anchor point display size and snapping behavior. Experimenting with these settings will help you find a setup that works best for your style.
11. Troubleshooting Common Issues
- Jagged Curves: Adjust the handles and smooth anchor points to create cleaner curves.
- Accidental Lines: If you place an unwanted line or anchor point, press Ctrl/Cmd + Z to undo.
- Handles Not Appearing: Ensure you’re clicking and dragging when placing a curved anchor point.
12. Best Practices for Smooth and Clean Paths
To achieve smooth paths, place anchor points sparingly. Fewer anchor points create cleaner, more professional curves. Always aim for minimal anchor points and use the handles to adjust the curves.
13. How to Use the Pen Tool with Other Illustrator Tools
The Pen Tool works best in conjunction with other tools like the Direct Selection Tool (A) for fine-tuning anchor points, or the Shape Builder Tool to combine paths. Explore these tools to enhance your designs.
14. Advanced Tips: Creating Complex Shapes with the Pen Tool
As you grow more confident with the Pen Tool, try combining it with other tools to create complex shapes and designs. Use it to craft logos, intricate illustrations, or custom typography by merging paths and layers.
15. Conclusion and Next Steps
The Pen Tool is one of Illustrator’s most powerful features, and once you’ve mastered it, you’ll be able to create a wide range of designs. Continue practicing by experimenting with different shapes, paths, and tracing techniques.
Frequently Asked Questions (FAQs)
1. How do I undo a mistake while using the Pen Tool?
You can easily undo a mistake by pressing Ctrl/Cmd + Z to remove the last anchor point or path you created.
2. Can I adjust anchor points after placing them?
Yes, you can adjust anchor points using the Direct Selection Tool (A). Click on the anchor point and drag it to the desired position.
3. What’s the difference between a corner point and a smooth point?
A corner point creates sharp angles between paths, while a smooth point creates a continuous curve between two paths.
4. How do I close a path?
To close a path, click back on the original anchor point. Illustrator will automatically connect the path, creating a closed shape.
5. Can I use the Pen Tool to edit existing paths?
Yes, you can add or remove anchor points from an existing path using the Pen Tool or adjust the path using the Direct Selection Tool.