


Introduction
Shapes and paths are the foundation of vector design in Illustrator. Whether you’re creating a logo, icon, or illustration, understanding how to manipulate shapes using path operations will help you design more efficiently.
This guide will explore basic shapes, the Pathfinder panel, Shape Builder Tool, and advanced path operations, ensuring that you can create professional vector graphics with ease.
Understanding Basic Shapes in Illustrator
Illustrator provides various shape tools to create geometric designs:
- Rectangle Tool (M) – Draws squares and rectangles.
- Ellipse Tool (L) – Creates circles and ovals.
- Polygon Tool – Generates polygons with customizable sides.
- Star Tool – Creates star shapes with adjustable points.
Each shape can be modified using selection tools, direct manipulation, and path operations.
Using the Shape Tools
How to Create Shapes in Illustrator
- Select a shape tool from the Toolbar.
- Click and drag on the canvas to create a shape.
- Hold Shift to constrain proportions (e.g., perfect circles and squares).
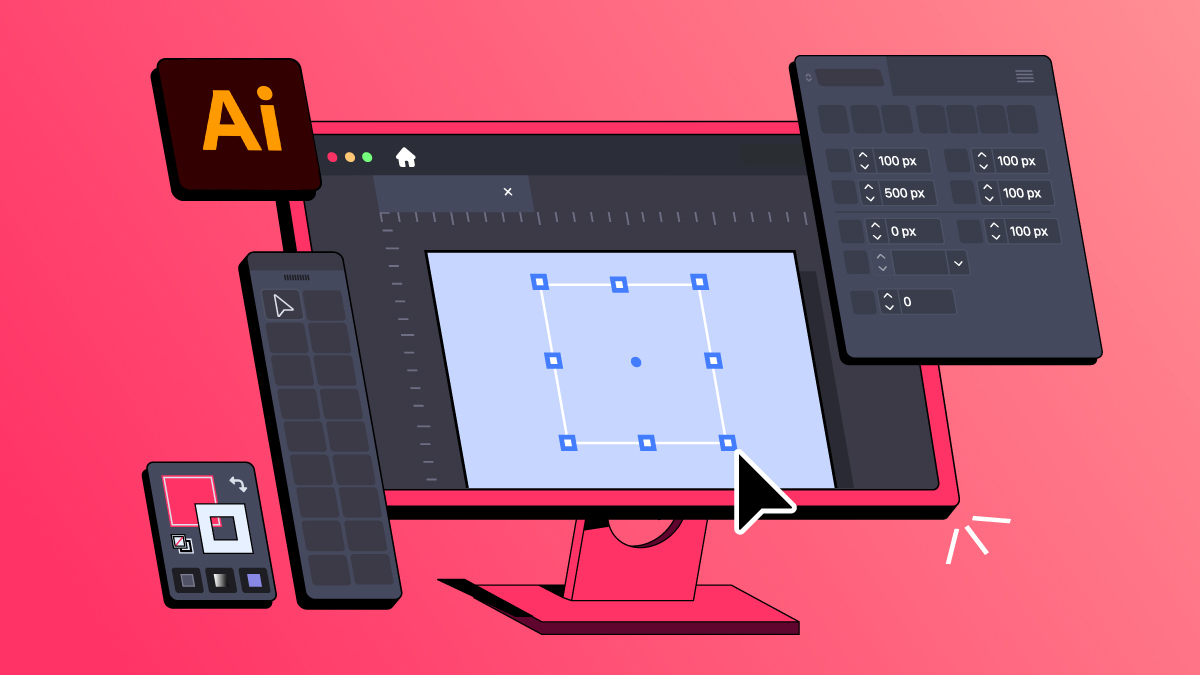
- Use the Properties panel to adjust width, height, and colors.
Modifying Shapes
- Resize using the bounding box handles.
- Rotate by hovering near the corner and dragging.
- Skew using the Free Transform Tool (E).
Combining Shapes with the Pathfinder Panel
The Pathfinder panel (Window > Pathfinder) allows you to combine, subtract, and intersect shapes.
Pathfinder Operations:
- Unite – Merges two or more shapes into one.
- Minus Front – Subtracts the top shape from the bottom shape.
- Intersect – Keeps only the overlapping area of shapes.
- Exclude – Removes the overlapping part and keeps the rest.
Example:
- Create two overlapping circles.
- Open the Pathfinder panel.
- Click Minus Front to cut out the top shape from the bottom one.
Working with the Shape Builder Tool
The Shape Builder Tool (Shift + M) offers an interactive way to combine and separate shapes.
How to Use Shape Builder:
- Select multiple shapes.
- Choose the Shape Builder Tool.
- Click and drag across shapes to merge them.
- Hold Alt (Option on Mac) and click to remove parts of shapes.
This tool provides greater flexibility compared to the Pathfinder panel.
Understanding Paths and Anchor Points
Every shape consists of paths and anchor points:
- Open Paths – Do not connect (e.g., a line).
- Closed Paths – Fully connected (e.g., a circle).
- Anchor Points – Define the shape’s structure.
- Handles (Bezier Curves) – Adjust curve direction and smoothness.
Use the Direct Selection Tool (A) to move anchor points and refine shapes.
Using the Pen Tool for Custom Shapes
The Pen Tool (P) allows precise path creation.
- Click to create straight lines.
- Click and drag to create curves.
- Close the path to form a shape.
For complex illustrations, mastering the Pen Tool is essential.
Creating Compound Paths
A Compound Path allows multiple shapes to act as a single object while maintaining transparency cutouts.
Example:
- Type text in Illustrator.
- Convert it to outlines (Type > Create Outlines).
- Select both text and a shape, then go to Object > Compound Path > Make.
This technique is useful for designing logos, engravings, and masks.
Applying Effects to Paths and Shapes
Illustrator offers effects like:
- Drop Shadows
- Outer and Inner Glows
- 3D Extrusion
Access effects via Effect > Stylize to enhance your designs.
Common Mistakes and How to Avoid Them
🚫 Using the wrong path operation – Understand the difference between Pathfinder and Shape Builder.
🚫 Forgetting to expand appearance – Some effects need to be expanded for final output.
🚫 Ignoring anchor points – Fine-tuning paths makes a significant difference.
Final Tips and Best Practices
✅ Use Pathfinder and Shape Builder together for flexibility.
✅ Convert text to outlines before finalizing vector files.
✅ Learn Pen Tool shortcuts to speed up workflow.
✅ Always save work in AI and SVG formats for future edits.
Conclusion
Mastering shapes and path operations in Illustrator is crucial for creating professional vector designs. By using tools like the Pathfinder panel, Shape Builder, and Pen Tool, you can craft complex illustrations with ease.
FAQs
1. What is the difference between Shape Builder and Pathfinder?
The Shape Builder Tool allows interactive merging, while Pathfinder applies predefined shape operations.
2. How do I convert text into shapes?
Select the text and go to Type > Create Outlines to turn it into vector paths.
3. Can I edit shapes after applying path operations?
Yes, but some operations need Object > Expand Appearance to keep editable.
4. What is the best way to combine shapes in Illustrator?
Use Pathfinder for precision and Shape Builder for intuitive merging.
5. Why does my shape disappear after using Pathfinder?
Ensure that your shapes are properly aligned and that you are using the correct path operation.