Typography is an essential component of graphic design, enabling designers to convey messages, evoke emotions, and create strong visual impact using text. Adobe Illustrator, a leading vector design tool, offers powerful typographic tools that allow designers to create stunning and scalable text-based designs. Whether you’re a beginner or looking to refine your skills, this guide will help you get started with typography in Illustrator, covering everything from basic text creation to advanced techniques.
1. Understanding the Basics of Typography in Illustrator
Overview: Typography in Illustrator involves manipulating text to enhance your design’s aesthetic and communication. Illustrator allows you to work with both point text (text added by clicking) and area text (text added within a defined area), giving you flexibility in how you incorporate text into your designs.
Steps to Begin:
- Creating Point Text: Select the Type Tool (T), click anywhere on the artboard, and start typing.
- Creating Area Text: Use the Type Tool (T) to click and drag, creating a text box. Text will automatically wrap within the box’s boundaries.
- Font Selection: Use the Character panel (Window > Type > Character) to select a font, size, and adjust spacing (tracking and kerning).
Best For:
- Quick text creation
- Headings and subheadings
- Simple text elements
2. Exploring Fonts and Typefaces
Overview: Choosing the right font is critical to creating effective typographic designs. Illustrator comes with access to Adobe Fonts (formerly Typekit), offering thousands of high-quality fonts. You can also import custom fonts.
Key Features:
- Adobe Fonts: Access fonts directly in Illustrator via the Adobe Fonts service.
- Custom Fonts: Install third-party fonts and access them through the Character panel.
- Font Pairing: Combine complementary fonts (e.g., a bold header with a light body text) to create contrast and hierarchy.
Tips for Font Usage:
- Limit yourself to 2-3 fonts in a single design to maintain cohesion.
- Experiment with different font weights and styles (e.g., italic, bold) to emphasize key elements.
3. Working with the Character Panel
Overview: The Character panel in Illustrator allows you to control your text’s appearance in fine detail. Here, you can modify font, size, leading (line spacing), kerning (space between two characters), and tracking (space between multiple characters).
Key Tools:
- Leading: Adjusts the space between lines of text.
- Tracking: Modifies the spacing between all characters in a block of text.
- Kerning: Fine-tunes the space between individual characters.
Best For:
- Ensuring readability and flow in longer text sections.
- Customizing letterforms for visual impact.
4. Using the Type Tool Effectively
Overview: The Type Tool (T) in Illustrator is your primary tool for working with text. It allows you to create point text (click and type) or area text (click and drag to define a text box). Additionally, Illustrator provides specialized type tools for creating text along a path or within shapes.
Specialized Type Tools:
- Type on a Path Tool: Create text along a curved path for more dynamic designs.
- Type in a Shape: Add text within shapes like circles, rectangles, or custom forms.
- Touch Type Tool: Adjust individual characters within a text block without breaking the text’s flow.
Best For:
- Creative text designs (e.g., logos, posters)
- Text on banners or signs
5. Formatting Text Using Paragraph Panel
Overview: The Paragraph panel helps you control the overall flow and alignment of your text. You can align text left, center, or right, justify text, and control indentation and spacing.
Key Features:
- Alignment: Choose from left, center, right, or justified alignment.
- Indentation: Control first-line or full paragraph indents.
- Hyphenation: Turn hyphenation on or off for longer text sections.
Best For:
- Long-form text designs like brochures or magazines.
- Controlling the overall structure and readability of your text.
6. Creating Custom Typography
Overview: Illustrator allows you to convert text into outlines (vector shapes) so that you can manipulate the text as graphic elements. This feature is often used to create custom typography for logos or other design elements.
Steps to Create Custom Text:
- Type your text and adjust its font, size, and spacing.
- Right-click the text and choose Create Outlines (Shift+Ctrl+O).
- Use Illustrator’s vector editing tools (e.g., Direct Selection Tool, Anchor Point Tool) to modify individual letters.
Best For:
- Creating unique, custom letterforms for branding.
- Modifying letters to fit into shapes or illustrations.
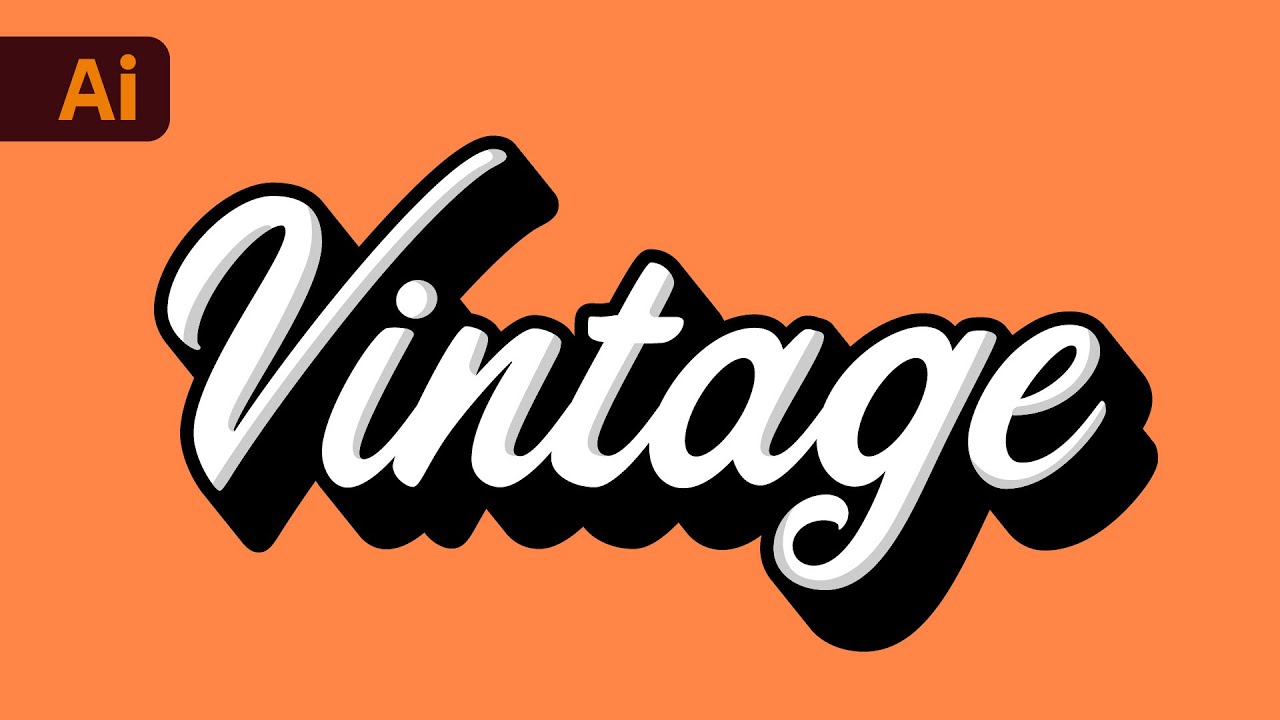
7. Adding Effects to Text
Overview: Illustrator offers several effects that can be applied to text, such as shadows, glows, or 3D effects. These effects enhance your text’s visual appeal and help it stand out in your design.
Common Text Effects:
- Drop Shadow: Adds a shadow behind text to give it depth.
- 3D Text: Use the 3D options under Effect > 3D to create dimensional text.
- Text Warp: Distort text to fit within a specific shape or pattern.
Best For:
- Titles and headings in posters, flyers, or digital graphics.
- Eye-catching text for web and print designs.
8. Adjusting Text with the Touch Type Tool
Overview: The Touch Type Tool (Shift+T) is a unique feature in Illustrator that allows you to adjust individual characters in a block of text. You can scale, rotate, or move characters without breaking the overall text block.
How to Use:
- Select the Touch Type Tool from the toolbar.
- Click on a character in your text block.
- Adjust the character’s position, size, or rotation independently.
Best For:
- Creating artistic typography.
- Fine-tuning the placement of individual letters for logos or posters.
9. Typography and Color in Illustrator
Overview: Color plays a crucial role in typography. In Illustrator, you can apply gradients, patterns, or textures to your text to make it more engaging. The Swatches and Gradient panels allow you to apply consistent color schemes to your typography.
Key Features:
- Solid Colors: Apply solid fills and strokes to your text.
- Gradients: Use the Gradient panel to apply linear or radial gradients to text.
- Pattern Fills: Apply pattern fills for more dynamic typography.
Best For:
- Branding and logo design.
- Creating eye-catching headlines for marketing materials.
10. Exporting Text for Web and Print
Overview: After you’ve finished your design, it’s essential to export it in the correct format, especially when dealing with typography. Illustrator allows you to export your design as a PNG, JPG, PDF, or SVG, depending on your needs.
Steps to Export:
- Go to File > Export > Export As.
- Choose the desired format (SVG for web, PDF for print).
- Ensure the text is outlined or embedded to prevent font issues during export.
Best For:
- Web design elements (SVG, PNG).
- Print materials like posters, flyers, and brochures (PDF).
FAQs
1. How do I convert text to outlines in Illustrator?
To convert text to outlines in Illustrator, select your text and right-click. Choose “Create Outlines” from the menu (or use the shortcut Shift+Ctrl+O). This will turn your text into editable vector shapes.
2. Can I change the font after converting text to outlines?
No, once text is converted to outlines, it is no longer editable as text. You would need to undo the conversion or create a new text object if you want to change the font.
3. How can I install custom fonts in Illustrator?
To install custom fonts, first download the font file to your computer. Then, install the font through your operating system (on Windows, right-click the font file and select “Install”). After installation, the font will be available in Illustrator’s font menu.
4. What is the difference between tracking and kerning in typography?
Tracking adjusts the spacing between all characters in a block of text, while kerning adjusts the spacing between two specific characters. Both are essential for fine-tuning the appearance of your text.
5. How do I create text along a path in Illustrator?
To create text along a path, first draw the desired path using a shape or pen tool. Then, select the Type on a Path Tool (hidden under the Type Tool) and click on the path to start typing along it.