

1. Understanding Exposure in Photoshop
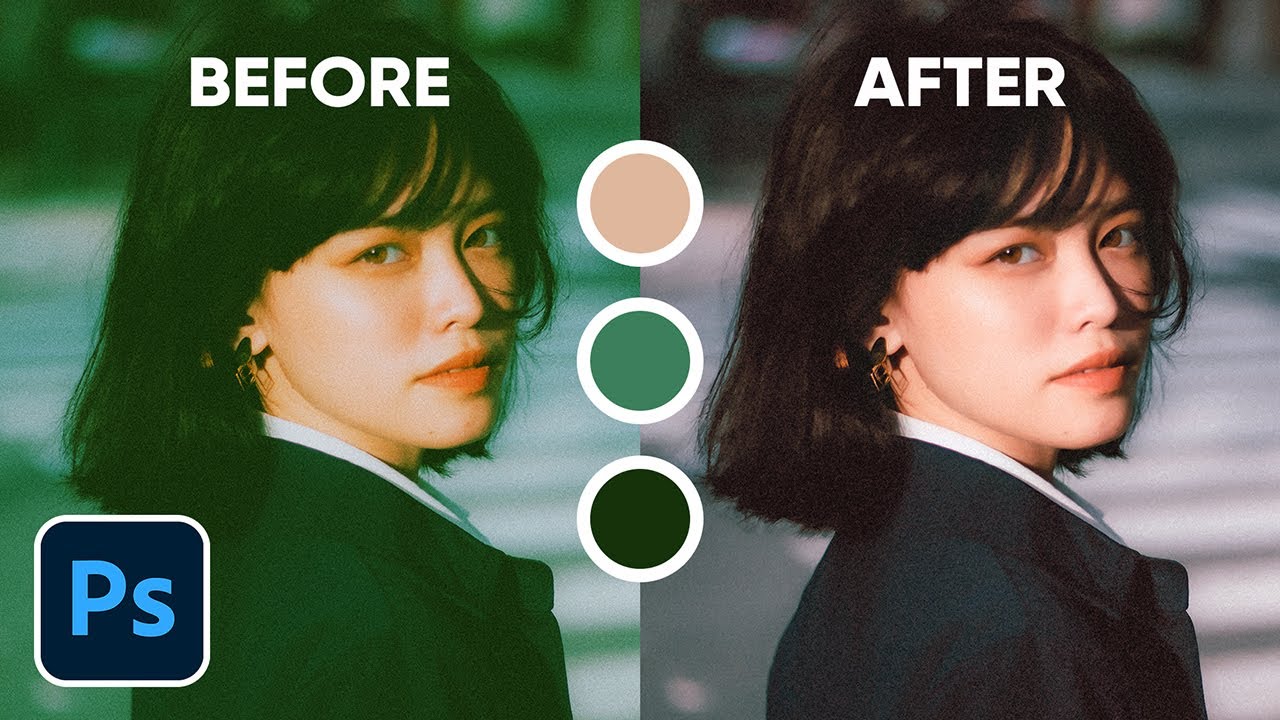
Exposure refers to the amount of light that enters the camera when capturing an image. It affects the overall brightness and contrast.
📌 Common Exposure Issues:
✅ Overexposure – The image is too bright, losing details in the highlights.
✅ Underexposure – The image is too dark, with lost details in shadows.
✅ Uneven Exposure – Some parts of the image are too bright, while others are too dark.
Photoshop offers several tools to correct these issues effectively.
2. Using the Exposure Adjustment Layer
The Exposure Adjustment Layer allows you to fix brightness without affecting the original image.
Steps to Fix Exposure Using Exposure Adjustment:
- Open your image in Photoshop.
- Go to Layer > New Adjustment Layer > Exposure.
- Adjust the following settings in the Properties Panel:
- Exposure: Controls overall brightness.
- Offset: Adjusts midtones and shadow details.
- Gamma Correction: Modifies contrast and depth.
✅ This method is non-destructive, meaning it won’t alter your original image.
3. Fixing Exposure with Levels (Ctrl + L)
The Levels Tool allows you to adjust highlights, midtones, and shadows manually.
Steps to Adjust Exposure with Levels:
- Open your image and go to Image > Adjustments > Levels or press Ctrl + L.
- In the Levels Dialog Box, you will see a histogram with three sliders:
- Left Slider (Shadows): Darkens the image.
- Middle Slider (Midtones): Adjusts overall brightness.
- Right Slider (Highlights): Brightens the image.
- Adjust the sliders until the exposure looks balanced.
- Click OK to apply the changes.
✅ The Levels Tool provides precise control over exposure correction.
4. Adjusting Brightness and Contrast for Quick Fixes
If the exposure issue is minor, the Brightness/Contrast tool can help.
Steps to Use Brightness/Contrast:
- Go to Image > Adjustments > Brightness/Contrast.
- Increase or decrease the Brightness slider to adjust exposure.
- Adjust the Contrast slider to enhance details.
- Click OK to save changes.
✅ This method is fast and effective for quick exposure corrections.
5. Using the Curves Tool for Advanced Adjustments
The Curves Tool offers more flexibility in adjusting exposure than Levels.
Steps to Fix Exposure with Curves:
- Open your image and go to Image > Adjustments > Curves (Ctrl + M).
- Click and drag the curve to adjust brightness:
- Pull up to brighten highlights.
- Pull down to darken shadows.
- Fine-tune the curve to balance exposure and contrast.
- Click OK when satisfied.
✅ Curves provide more control over light and shadow adjustments.
6. Using Shadows/Highlights for Uneven Exposure
If an image has dark shadows or blown-out highlights, the Shadows/Highlights Tool can help.
Steps to Fix Uneven Exposure:
- Go to Image > Adjustments > Shadows/Highlights.
- Adjust the Shadows slider to brighten dark areas.
- Adjust the Highlights slider to recover details in bright areas.
- Fine-tune the settings to achieve the desired effect.
- Click OK to apply the changes.
✅ This tool is great for recovering lost details in highlights and shadows.
7. Fixing Exposure Using Camera Raw Filter
If you’re working with RAW images, the Camera Raw Filter provides powerful exposure correction tools.
Steps to Use Camera Raw Filter:
- Open your image and go to Filter > Camera Raw Filter.
- Adjust the following sliders:
- Exposure: Brightens or darkens the image.
- Highlights: Recovers details in bright areas.
- Shadows: Brightens dark areas.
- Contrast: Enhances details and depth.
- Click OK to apply changes.
✅ The Camera Raw Filter is one of the most effective ways to fix exposure in Photoshop.
8. Best Practices for Exposure Correction
✔ Always use Adjustment Layers to make non-destructive edits.
✔ Check the Histogram (Window > Histogram) to ensure balanced exposure.
✔ Use Layer Masks to apply exposure adjustments selectively.
✔ Avoid over-editing, as too much correction can reduce image quality.
Final Thoughts
Mastering exposure correction in Photoshop is essential for creating high-quality, well-balanced images. Whether you’re fixing minor brightness issues or performing advanced adjustments, Photoshop offers powerful tools to help you achieve the perfect exposure.
FAQs
1. How do I fix an overexposed image in Photoshop?
Use the Exposure Adjustment Layer, Curves, or Shadows/Highlights to reduce brightness and recover details.
2. What is the best tool for exposure correction in Photoshop?
The Curves Tool and Camera Raw Filter offer the most flexibility for fixing exposure issues.
3. How do I adjust exposure without losing quality?
Use non-destructive Adjustment Layers like Exposure, Levels, and Curves instead of direct adjustments.
4. Can I fix exposure in JPEG images?
Yes, but RAW files retain more details, making exposure correction easier and more effective.
5. Why does my image look different after adjusting exposure?
Overcorrection can cause color shifts or loss of detail. Use the Histogram and Layer Masks for precise adjustments.