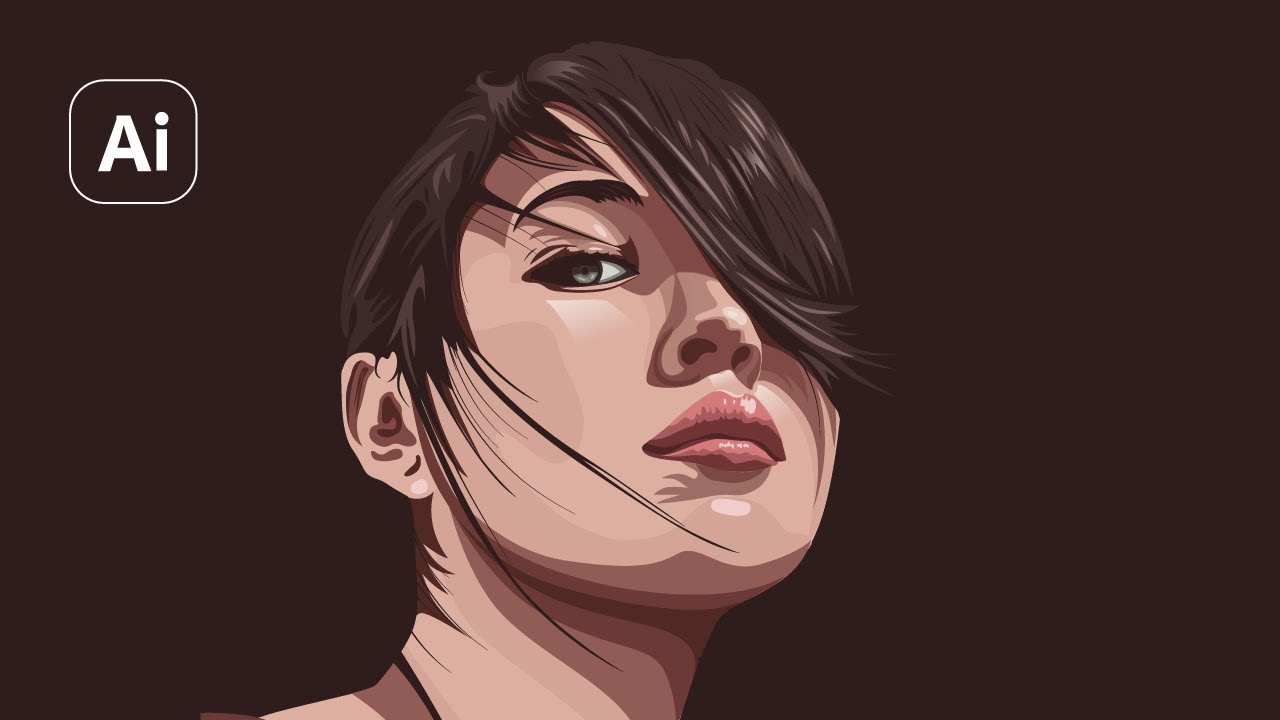
Vector portraits are a fantastic way to create high-quality, scalable digital artwork with crisp lines and vibrant colors. Adobe Illustrator, the industry-standard vector software, offers powerful tools to transform a photo into a stunning vector portrait with precise detailing. Whether you’re a beginner or an experienced digital artist, this guide will walk you through the step-by-step process of creating detailed vector portraits in Illustrator.
Why Choose Vector Portraits?
Vector portraits are widely used for:
✔️ Scalability – No loss of quality when resized.
✔️ Sharp & Clean Lines – Ideal for digital and print media.
✔️ Easy Editing – Modify colors and details effortlessly.
✔️ Versatility – Used in branding, animation, and digital illustrations.
Step-by-Step Guide to Creating a Vector Portrait in Illustrator
Step 1: Setting Up Your Workspace
- Open Illustrator and create a new document.
- Import your reference image by dragging it into the workspace.
- Lock the image layer and lower its opacity to about 50% for tracing.
Step 2: Outlining the Face with the Pen Tool
- Select the Pen Tool (P) and start outlining the major facial features, such as the jawline, eyes, nose, and lips.
- Use smooth anchor points for curves and sharp points for edges.
- Keep the lines clean and minimal for a more polished look.
Step 3: Adding Details with Shapes and Lines
- Use the Ellipse Tool (L) for the eyes, pupils, and highlights.
- Create eyebrows, eyelashes, and lips using a combination of shapes and strokes.
- For hair, use curved strokes with the Brush Tool (B) to add flow and volume.
Step 4: Coloring Your Vector Portrait
- Create a new layer for colors to keep things organized.
- Use the Eyedropper Tool (I) to pick skin tones from the reference image.
- Apply flat colors first, then build depth with gradients and shadows.
Step 5: Adding Shadows and Highlights
- Use the Gradient Tool (G) to create smooth skin transitions.
- Apply blending modes like Multiply and Overlay for natural shading.
- Use clipping masks to add highlights and contours for realism.
Step 6: Refining and Adding Final Touches
- Zoom in to fine-tune small details like wrinkles, highlights, and hair strands.
- Adjust colors and contrast to make the portrait pop.
- Save your file as .AI (for editing) and export as .PNG or .SVG for use.
Pro Tips for a Perfect Vector Portrait
✅ Use layers for different elements (skin, eyes, hair) to stay organized.
✅ Zoom in and out frequently to maintain proportion and symmetry.
✅ Experiment with brush settings for a more dynamic look.
✅ Don’t rush—precision is key when working with vectors!
FAQs
1. Can I create vector portraits without a pen tablet?
Yes! A mouse can be used for vector portraits, but a graphics tablet provides smoother strokes and better control.
2. What is the best tool for tracing a portrait in Illustrator?
The Pen Tool (P) is the most precise tool for tracing outlines, while the Brush Tool (B) works well for detailed strokes.
3. How do I make my vector portraits look realistic?
Use gradients, highlights, and shadows to create depth. Clipping masks and transparency effects help achieve a more realistic look.
4. How long does it take to create a detailed vector portrait?
It depends on complexity. A simple portrait may take 1-2 hours, while a highly detailed one can take 5-10 hours.
5. Can I use vector portraits for commercial purposes?
Yes! Vector portraits are commonly used for logos, illustrations, animations, and marketing materials. Always check licensing if using a reference image.