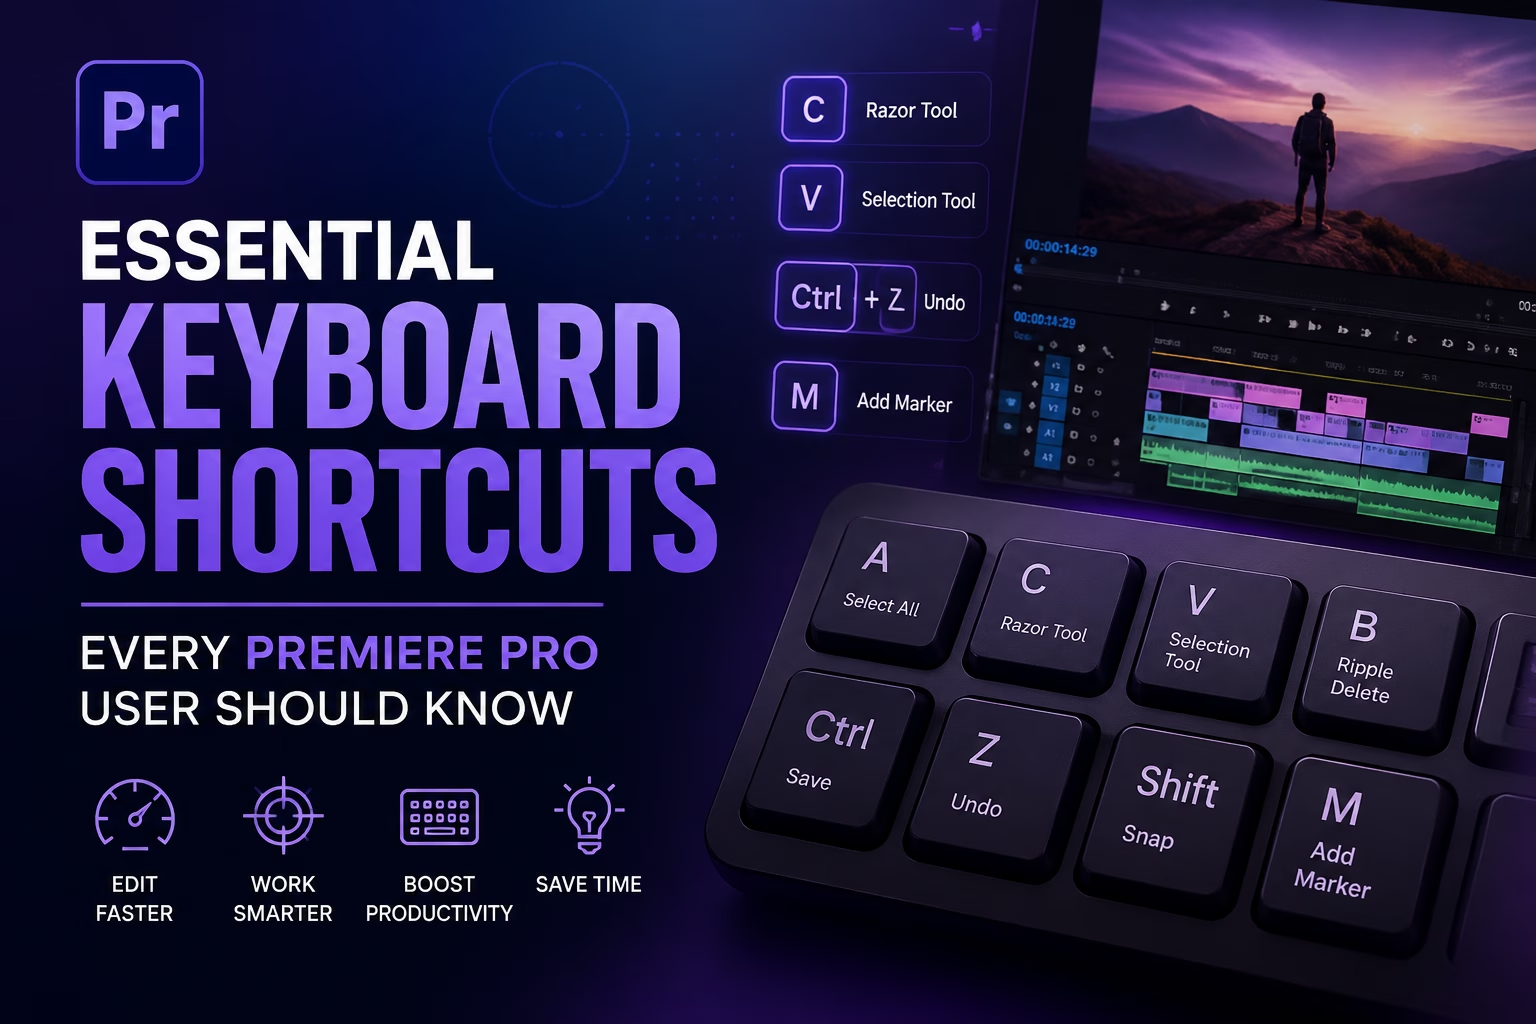
Adobe Premiere Pro is one of the most powerful video editing applications used by filmmakers, YouTubers, content creators, marketers, and professional editors worldwide. However, working efficiently in Premiere Pro is not just about knowing the tools it is about knowing how to access those tools quickly.
Professional editors rarely rely only on menus and mouse clicks. Instead, they use keyboard shortcuts to speed up their workflow, reduce repetitive tasks, and focus more on creativity rather than searching for commands.
Whether you are a beginner learning Premiere Pro or an experienced editor looking to improve your editing speed, mastering keyboard shortcuts can significantly improve your productivity.
This guide covers the most essential Premiere Pro keyboard shortcuts for editing, timeline navigation, trimming, audio, effects, exporting, and workflow optimization.
Why Premiere Pro Keyboard Shortcuts Matter
Editing a video involves thousands of small actions:
- Cutting clips
- Moving between frames
- Adding transitions
- Adjusting audio
- Applying effects
- Managing timelines
- Reviewing edits
Doing everything with a mouse slows down your workflow. Keyboard shortcuts allow you to:
1. Edit Faster
Instead of opening menus repeatedly, a simple key press can perform an action instantly.
Example:
- Mouse method: Select Razor Tool → Move to Timeline → Click Clip
- Shortcut method: Press C → Click
2. Stay Focused on Creativity
Constantly moving between keyboard and mouse interrupts your creative flow. Shortcuts help editors maintain focus while cutting scenes, adjusting timing, and building a story.
3. Work Like a Professional Editor
Most professional editors rely heavily on shortcuts. Faster editing means:
- More projects completed
- Faster revisions
- Better productivity
- Less repetitive work
Basic Premiere Pro Keyboard Shortcuts
These are the shortcuts every Premiere Pro user should learn first.
| Action | Shortcut (Windows) | Shortcut (Mac) |
|---|---|---|
| New Project | Ctrl + Alt + N | Cmd + Option + N |
| New Sequence | Ctrl + N | Cmd + N |
| Save Project | Ctrl + S | Cmd + S |
| Save As | Ctrl + Shift + S | Cmd + Shift + S |
| Undo | Ctrl + Z | Cmd + Z |
| Redo | Ctrl + Shift + Z | Cmd + Shift + Z |
| Copy | Ctrl + C | Cmd + C |
| Paste | Ctrl + V | Cmd + V |
| Cut | Ctrl + X | Cmd + X |
| Select All | Ctrl + A | Cmd + A |
| Delete | Delete | Delete |
These commands work across almost every editing application, making them essential habits.
Timeline Navigation Shortcuts
Fast timeline navigation is one of the biggest advantages of using shortcuts.
Move Playhead
| Action | Shortcut |
|---|---|
| Move Forward One Frame | Right Arrow |
| Move Back One Frame | Left Arrow |
| Move Forward Five Frames | Shift + Right Arrow |
| Move Back Five Frames | Shift + Left Arrow |
| Go to Beginning of Timeline | Home |
| Go to End of Timeline | End |
These shortcuts help you precisely locate edit points.
Playback Shortcuts
Reviewing your edit quickly is essential.
| Action | Shortcut |
|---|---|
| Play / Stop | Spacebar |
| Play Forward | L |
| Reverse Playback | J |
| Increase Playback Speed | Press L Multiple Times |
| Slow Motion Forward | Shift + L |
| Slow Motion Reverse | Shift + J |
Professional Tip:
The J-K-L editing method is widely used by professional editors:
- J = Play backward
- K = Pause
- L = Play forward
Using these keys allows you to review footage without touching your mouse.
Essential Cutting and Editing Shortcuts
Cutting clips is the foundation of video editing.
Razor Tool
Shortcut: C
The Razor Tool allows you to cut clips directly on the timeline.
Instead of selecting the Razor Tool manually:
Press:
C → Click ClipReturn to Selection Tool:
VSelection Tool
Shortcut: V
The Selection Tool is the default tool for:
- Moving clips
- Selecting items
- Adjusting clip length
Add Edit (Cut Without Razor Tool)
Shortcut: Ctrl + K (Windows)
Shortcut: Cmd + K (Mac)
This instantly cuts the selected clip at the playhead position.
It is one of the most useful shortcuts in Premiere Pro.
Add Edit to All Tracks
Shortcut: Ctrl + Shift + K
This cuts every track at the current playhead position.
Useful when editing:
- Multi-camera videos
- Interviews
- Music videos
Trimming Shortcuts
Professional editing depends heavily on trimming.
Ripple Trim Previous Edit to Playhead
Shortcut: Q
Removes everything before the playhead and closes the gap automatically.
Ripple Trim Next Edit to Playhead
Shortcut: W
Removes everything after the playhead and closes the gap.
Extend Selected Edit
Shortcut: E
Extends an edit point to the playhead.
Trim Forward / Backward
| Action | Shortcut |
|---|---|
| Trim Forward | W |
| Trim Backward | Q |
Clip Management Shortcuts
Managing clips efficiently keeps your timeline organized.
| Action | Shortcut |
|---|---|
| Enable/Disable Clip | Shift + E |
| Link Clips | Ctrl + L |
| Group Clips | Ctrl + G |
| Ungroup Clips | Ctrl + Shift + G |
| Replace Clip | Alt + Drag |
| Duplicate Clip | Alt + Drag |
Marking Clips and Timeline
Markers are extremely useful for organizing edits.
Add Marker
Shortcut: M
Use markers for:
- Important moments
- Music beats
- Notes
- Revision points
Press M while playing footage to quickly mark important sections.
Clear Marker
Shortcut: Ctrl + Alt + M
Mark In Point
Shortcut: I
Sets the beginning point of a selection.
Mark Out Point
Shortcut: O
Sets the ending point.
Clear In and Out Points
Shortcut: Ctrl + Shift + X
Audio Editing Shortcuts
Good audio is just as important as good visuals.
Audio Gain
Shortcut: G
Quickly adjust volume levels.
Mute Track
Shortcut: S
Solo a selected audio track.
Audio Mixer
Shortcut: Shift + 6
Open the Audio Track Mixer panel.
Essential Sound Panel
Shortcut: Shift + 7
Useful for:
- Dialogue cleanup
- Music balancing
- Sound effects
Effects and Tools Shortcuts
Open Effects Panel
Shortcut: Shift + 7
Search and apply:
- Video effects
- Audio effects
- Transitions
Apply Default Video Transition
Shortcut: Ctrl + D
Adds the default video transition.
Usually:
- Cross Dissolve
Apply Default Audio Transition
Shortcut: Ctrl + Shift + D
Adds the default audio transition.
Workspace Shortcuts
Premiere Pro has different editing workspaces.
| Workspace | Shortcut |
|---|---|
| Editing Workspace | Shift + 4 |
| Color Workspace | Shift + 5 |
| Effects Workspace | Shift + 7 |
| Audio Workspace | Shift + 6 |
| Graphics Workspace | Shift + 8 |
Switching workspaces quickly saves time.
Text and Graphics Shortcuts
For editors creating social media content, titles are essential.
Create New Text Layer
Shortcut: T
Select the Type Tool and click inside the Program Monitor.
Essential Graphics Panel
Shortcut: Shift + 8
Manage:
- Titles
- Lower thirds
- Motion graphics
Export Shortcuts
Exporting videos efficiently is important for every creator.
Export Media
Shortcut: Ctrl + M (Windows)
Shortcut: Cmd + M (Mac)
Opens the Export Settings window.
From here you can select:
- Format
- Resolution
- Bitrate
- File location
Zoom and Timeline View Shortcuts
A clean timeline makes editing easier.
| Action | Shortcut |
|---|---|
| Zoom In Timeline | + |
| Zoom Out Timeline | – |
| Fit Timeline | \ |
| Increase Track Height | Ctrl + + |
| Decrease Track Height | Ctrl + – |
Most Important Premiere Pro Shortcuts Cheat Sheet
| Function | Shortcut |
|---|---|
| Selection Tool | V |
| Razor Tool | C |
| Hand Tool | H |
| Zoom Tool | Z |
| Play/Pause | Space |
| Forward Playback | L |
| Reverse Playback | J |
| Add Marker | M |
| Cut Clip | Ctrl + K |
| Save Project | Ctrl + S |
| Undo | Ctrl + Z |
| Export | Ctrl + M |
| Add Video Transition | Ctrl + D |
| Add Audio Transition | Ctrl + Shift + D |
| Text Tool | T |
How to Customize Premiere Pro Shortcuts
Every editor has a different workflow. Premiere Pro allows you to customize shortcuts.
Steps:
- Open Premiere Pro
- Go to:
Edit → Keyboard Shortcuts
- Search for any command
- Assign your preferred key
- Save your keyboard layout
You can create layouts based on:
- YouTube editing
- Film editing
- Social media content
- Documentary editing
Tips to Learn Premiere Pro Shortcuts Faster
1. Learn Shortcuts Gradually
Do not try to memorize everything in one day.
Start with:
- V
- C
- Ctrl + K
- J K L
- Spacebar
- M
- Ctrl + S
2. Stop Using the Mouse for Common Actions
If you perform an action more than 20 times daily, learn its shortcut.
3. Print a Shortcut Cheat Sheet
Keep frequently used shortcuts near your editing setup.
4. Practice With Real Projects
The fastest way to learn shortcuts is by using them during actual editing.
Conclusion
Mastering keyboard shortcuts in Adobe Premiere Pro is one of the fastest ways to improve your editing speed and efficiency. While beginners often focus on learning tools and effects, professional editors understand that workflow optimization is equally important.
By learning essential shortcuts for:
- Cutting
- Trimming
- Navigation
- Audio control
- Effects
- Exporting
you can spend less time searching through menus and more time creating better videos.
The goal is not to memorize every shortcut it is to build muscle memory for the actions you use every day. Once shortcuts become natural, Premiere Pro becomes faster, smoother, and much more enjoyable to use.
Read More: Adobe Premiere Pro for Beginners: The Complete Getting Started Guide