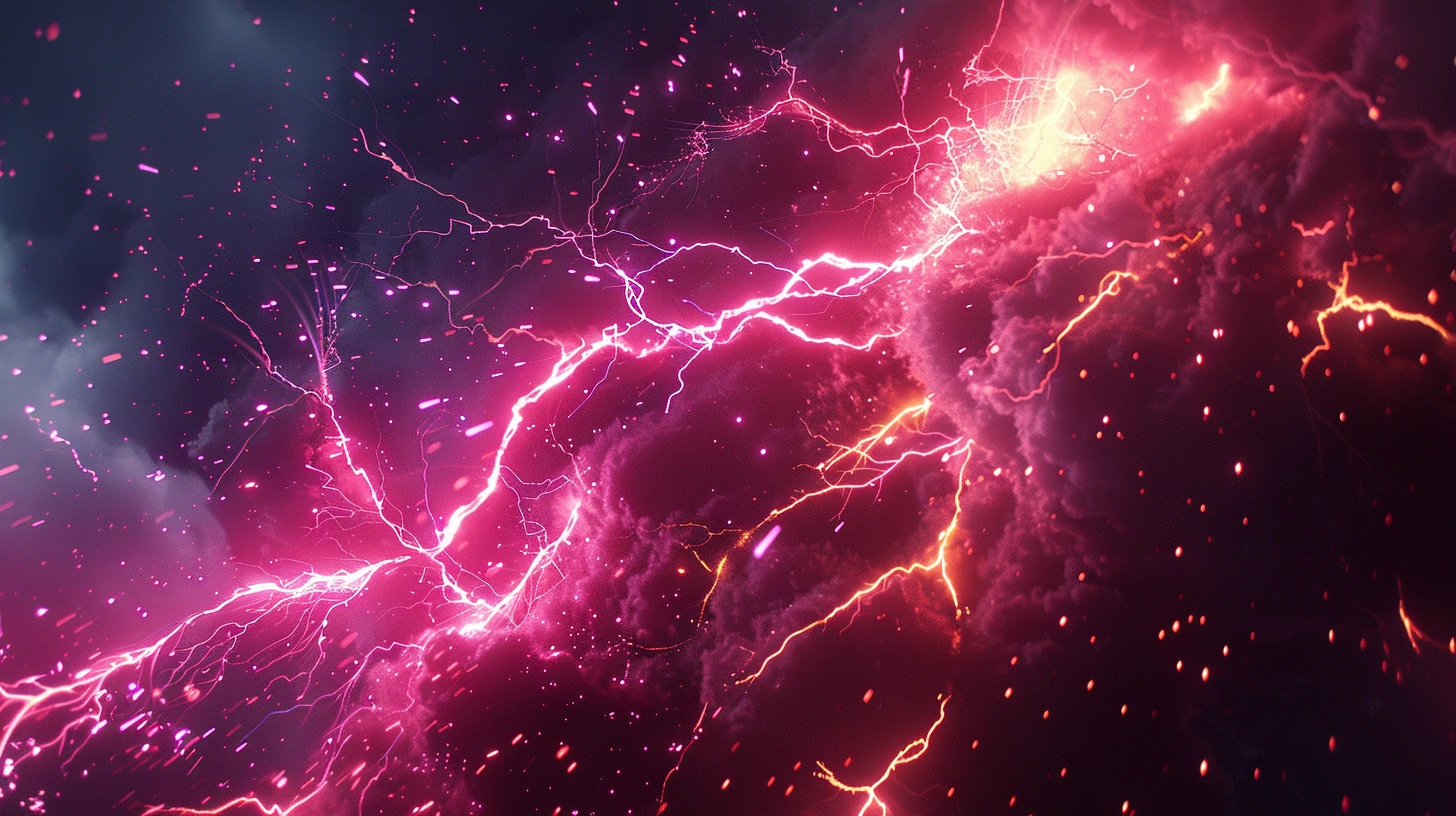
Adding realistic lightning and storm effects to images in Photoshop can transform an ordinary photo into a dramatic masterpiece. Whether you’re working on a dark fantasy scene or an intense weather composition, mastering these effects is essential for creating visually stunning artwork.
In this guide, we’ll walk through the step-by-step process of creating realistic lightning bolts, storm clouds, and atmospheric effects.
Step 1: Setting Up Your Document
Before we begin, create a new Photoshop document:
- Open Photoshop and create a new document (Ctrl + N).
- Choose a size of 1920×1080 pixels for a standard HD composition.
- Set the background color to dark gray or black to mimic a stormy atmosphere.
Step 2: Creating Realistic Storm Clouds
To make a stormy sky, we need to generate and manipulate clouds.
Using the Cloud Filter
- Create a new layer (
Ctrl + Shift + N) and name it Storm Clouds. - Set the foreground color to black and background color to white.
- Go to Filter > Render > Clouds.
- To add depth, apply Filter > Render > Difference Clouds multiple times.
- Adjust the contrast using Levels (
Ctrl + L).
Enhancing the Clouds
- Use the Smudge Tool (R) to shape the clouds.
- Apply Gaussian Blur (
Filter > Blur > Gaussian Blur) to soften the clouds. - Adjust the Opacity and set the layer blend mode to Overlay or Soft Light.
Step 3: Adding Lightning Effects
Creating realistic lightning is crucial for a stormy scene.
Method 1: Using the Difference Clouds Technique
- Create a new layer and name it Lightning.
- Fill the layer with black (
Shift + F5and select Black). - Go to Filter > Render > Difference Clouds.
- Open Levels (
Ctrl + L) and increase the contrast until you see a sharp lightning bolt. - Invert the colors (
Ctrl + I). - Use the Lasso Tool (L) to select a lightning bolt shape and cut it onto a new layer.
- Set the blending mode to Screen to remove the black background.
Method 2: Painting Lightning with the Brush Tool
- Select the Brush Tool (B) and choose a thin, soft brush.
- Set the color to white.
- Draw jagged, branching lines that mimic natural lightning.
- Apply Outer Glow from the Layer Styles (
Double-click the layer). - Adjust opacity and blur to achieve a glowing effect.
Step 4: Enhancing the Lightning with Glow
Lightning needs a strong glow to appear realistic.
Adding Glow Using Outer Glow Effect
- Select the Lightning Layer.
- Go to Layer Style > Outer Glow.
- Choose a bright blue or white color.
- Set Opacity to 70-90%.
- Adjust Spread and Size until you achieve a soft glow.
Adding Atmospheric Glow
- Duplicate the lightning layer.
- Apply Gaussian Blur to the duplicate layer.
- Set the blend mode to Color Dodge for intense brightness.
Step 5: Adding Rain and Atmospheric Effects
A storm isn’t complete without rain and mist.
Creating Rain
- Create a new layer and name it Rain.
- Fill it with black (
Shift + F5). - Go to Filter > Noise > Add Noise and set it to 80-100% (Monochromatic, Gaussian).
- Apply Motion Blur (
Filter > Blur > Motion Blur), setting Angle to 75° and Distance to 20-50 pixels. - Set the blend mode to Screen.
Adding Fog & Mist
- Use a soft white brush to paint mist in random areas.
- Set the opacity to low (10-20%) for a natural look.
Step 6: Final Adjustments and Color Grading
To give the storm scene a cinematic feel, apply color adjustments.
Using Adjustment Layers
- Go to Layer > New Adjustment Layer and apply:
- Brightness/Contrast – Reduce brightness slightly and increase contrast.
- Hue/Saturation – Slightly decrease saturation for a dark, moody effect.
- Color Balance – Add more blue and cyan to enhance the stormy vibe.
- Add a Vignette Effect:
- Create a new layer, fill it with black, and set it to Soft Light.
- Use Eraser Tool (E) with low opacity to remove the center area.
Final Thoughts
Creating realistic lightning and storm effects in Photoshop is a fantastic way to add drama and energy to your artwork. By using cloud textures, lightning techniques, and rain effects, you can craft a striking scene that feels alive.
Frequently Asked Questions (FAQs)
1. How can I make my lightning look more realistic?
- Use multiple layers to create depth.
- Apply Outer Glow and Gaussian Blur for brightness.
- Add random branches to the lightning using the Brush Tool.
2. How do I create different lightning colors?
- Use the Hue/Saturation adjustment layer.
- Experiment with Layer Styles (Color Overlay).
- Change the lightning’s Outer Glow color to blue, purple, or red.
3. Can I animate lightning in Photoshop?
Yes! Use the Frame Animation Timeline (Window > Timeline) and:
- Duplicate the Lightning Layer and slightly change its shape.
- Adjust the Opacity of each frame.
- Save as GIF or MP4.
4. What are the best Photoshop brushes for storm effects?
- Cloud brushes for fog and mist.
- Lightning brushes for instant bolts.
- Rain brushes for a dramatic downpour.
5. How do I add thunder sound effects to my animation?
- Export your Photoshop animation to After Effects or Premiere Pro.
- Add a thunder sound effect from free sound libraries like Freesound.org.
- Sync the sound with the lightning flash.