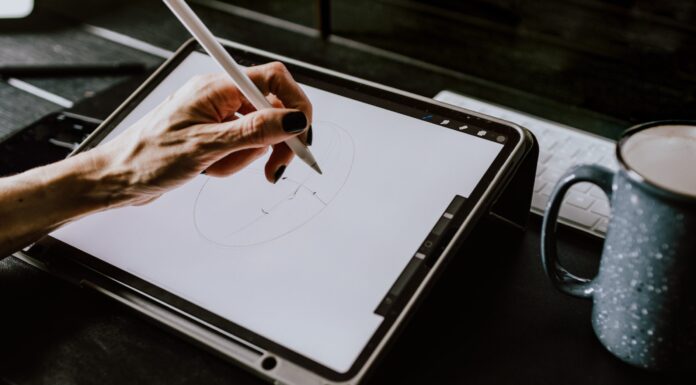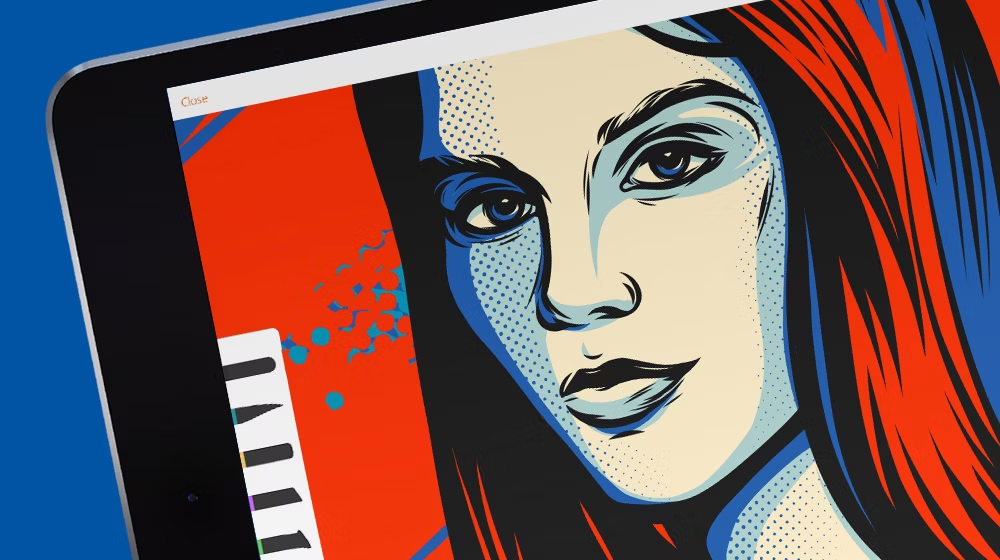
Vector art is a powerful and versatile form of digital illustration created using vector-based software like Adobe Illustrator. Unlike raster images, vector graphics use mathematical equations to maintain sharpness and scalability at any size. Whether you’re a beginner or an experienced designer, learning how to create vector art in Adobe Illustrator is an essential skill.
In this guide, we’ll walk you through the process of creating vector art in Adobe Illustrator and answer five frequently asked questions.
Step-by-Step Guide to Creating Vector Art in Adobe Illustrator
Step 1: Set Up Your Workspace
- Open Adobe Illustrator and create a new document (
File>New). - Set the artboard size according to your project requirements.
- Choose the Color Mode (
RGBfor digital,CMYKfor print). - Enable Essential Tools (
Window> select required tools like Layers, Brushes, or Pathfinder).
Step 2: Choose Your Tools for Drawing
- Pen Tool (P) – The most precise tool for creating vector paths.
- Pencil Tool (N) – Allows for freehand drawing.
- Shape Tools (M, L, etc.) – Useful for creating basic shapes like circles, squares, and polygons.
- Brush Tool (B) – Adds a more artistic touch with various stroke styles.
Step 3: Create Your Vector Shapes
- Use the Pen Tool (P) to draw precise lines and curves.
- Adjust anchor points and handles to refine shapes.
- Combine basic shapes using the Shape Builder Tool (Shift + M) or Pathfinder Tool (
Window>Pathfinder).
Step 4: Add Colors and Gradients
- Open the Swatches Panel (
Window>Swatches) and select a color palette. - Use the Gradient Tool (G) to add smooth transitions between colors.
- Adjust Stroke and Fill options in the Properties Panel.
Step 5: Add Details and Refinements
- Use Brushes and Textures to enhance your artwork (
Window>Brushes). - Apply Effects (
Effect>Stylize,Distort & Transform, etc.). - Group Elements (
Ctrl + G) for easier organization. - Adjust Layers in the Layers Panel (
Window>Layers).
Step 6: Save and Export Your Vector Art
- Save your work in AI format (
File>Save As) to retain editable vectors. - Export as SVG, EPS, or PDF for scalable vector use.
- Convert to PNG or JPG if needed (
File>Export>Export As).
Conclusion
Creating vector art in Adobe Illustrator is a valuable skill for designers, illustrators, and digital artists. By mastering tools like the Pen Tool, Shape Builder, and Gradients, you can create stunning, scalable artwork. Keep practicing, explore new techniques, and refine your workflow to become a pro at vector art!
Frequently Asked Questions (FAQs)
1. What is the difference between vector and raster images?
Vector images use mathematical equations to create shapes, making them infinitely scalable without loss of quality. Raster images (like JPG or PNG) are made of pixels and lose quality when resized.
2. Can I convert a raster image into a vector?
Yes! Use the Image Trace Tool (Window > Image Trace) to convert a raster image into a vector. Adjust settings for better accuracy.
3. What is the best format for saving vector files?
The best formats are AI, EPS, and SVG as they preserve vector properties. PDF is also good for print projects.
4. How do I make my vector art look more professional?
- Use clean lines and shapes.
- Experiment with color palettes and gradients.
- Add shadows and highlights for depth.
- Pay attention to composition and spacing.
5. How can I practice and improve my vector art skills?
- Follow online tutorials and courses.
- Study real-life objects and recreate them in Illustrator.
- Join design communities for feedback and inspiration.
- Keep experimenting with different tools and techniques.